
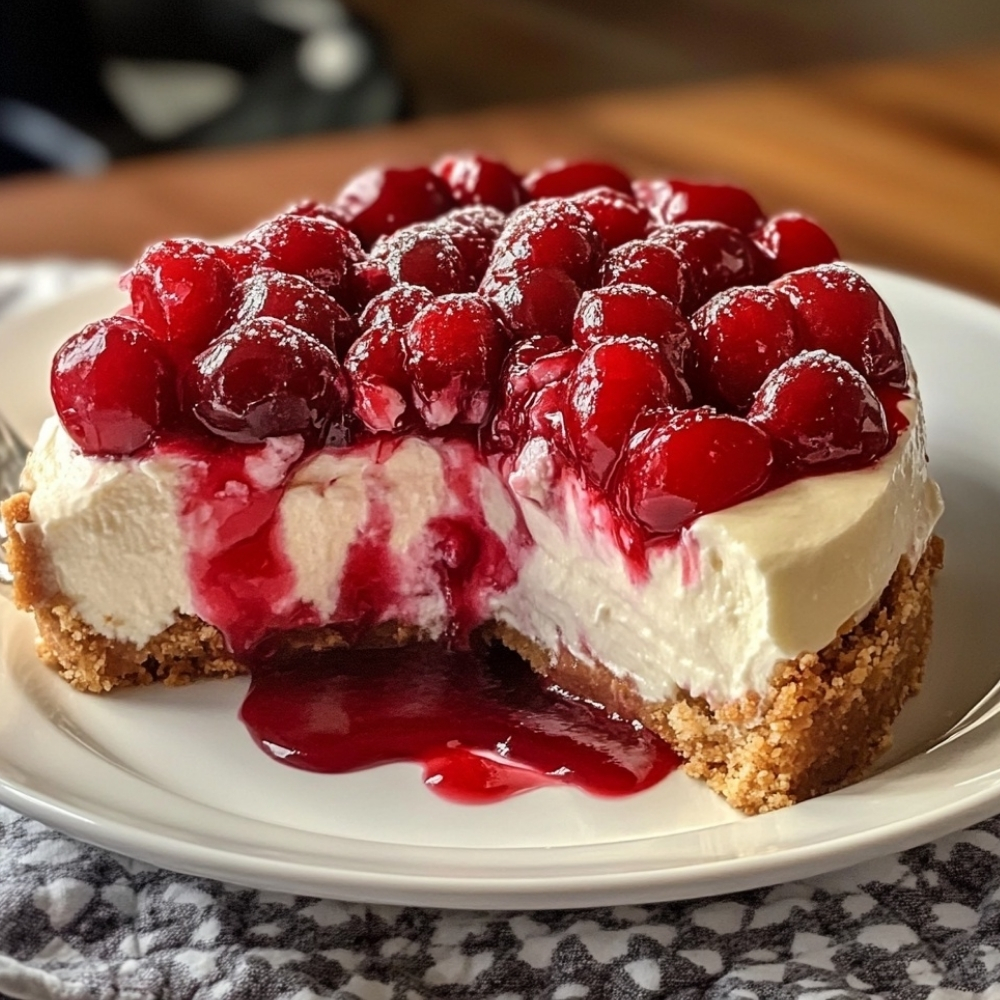
This No-Bake Cherry Cheesecake Delight is a layered dessert that looks impressive but is secretly very easy. You get a buttery graham cracker crust, a fluffy cream cheese filling, and a glossy cherry topping all in one chilled pan.
Every slice has a crunchy-smooth contrast: crisp, buttery crumbs on the bottom, cloud-like cheesecake in the middle, and sweet-tart cherries on top. It’s perfect for holidays, potlucks, summer gatherings, or any time you want a crowd-pleasing dessert without turning on the oven.
Why You’ll Love This No-Bake Cherry Cheesecake Delight
- No oven needed – The fridge does all the work.
- Light, creamy texture – Whipped filling that’s rich but not heavy.
- Classic cherry topping – Sweet, glossy cherries in every bite.
- Make-ahead friendly – Needs chill time, so it’s great to prepare in advance.
- Perfect for sharing – One pan serves a crowd and slices neatly.
Ingredients
For the Graham Cracker Crust
- 240 g (about 2 cups) graham cracker crumbs (or digestive biscuits, finely crushed)
- 100 g (7 tbsp) unsalted butter, melted
- 2–3 tbsp granulated sugar (adjust to sweetness preference)
- Pinch of salt
For the Cheesecake Layer
- 450 g (16 oz) cream cheese, softened to room temperature
- 240 ml (1 cup) cold heavy cream or whipping cream
- 120 g (1 cup) powdered sugar, sifted
- 1 tsp vanilla extract
- 1–2 tbsp lemon juice (to brighten the flavor)
For the Cherry Topping
- 1 can (540 ml / about 21 oz) cherry pie filling
- or homemade cherry topping, well cooled
Optional Garnishes
- Extra whipped cream
- Fresh cherries or berries
- Graham cracker crumbs for sprinkling
Instructions
1) Prep the pan and crust
Lightly grease or line a 9×13-inch (23×33 cm) baking dish with parchment, leaving some overhang for easy lifting (optional, but helpful for clean slices).
In a medium bowl, combine graham cracker crumbs, melted butter, sugar, and a pinch of salt. Stir until the crumbs are evenly moistened and resemble wet sand.
Press the mixture firmly and evenly into the bottom of the dish to form a crust.
Tip: Use the bottom of a flat glass or measuring cup to press the crust tightly so it holds together when sliced.
Place the crust in the fridge while you prepare the filling.
2) Make the whipped cream
In a cold mixing bowl, beat the cold heavy cream on medium-high speed until it forms stiff peaks (be careful not to overbeat).
Set the whipped cream aside.
3) Make the cheesecake filling
In a separate large bowl, beat the softened cream cheese until smooth and lump-free.
Add powdered sugar, vanilla, and lemon juice. Beat again until creamy and well combined, scraping down the sides as needed.
Gently fold the whipped cream into the cream cheese mixture in 2–3 additions, using a spatula to keep the mixture light and airy. Fold just until no streaks remain.
4) Layer the cheesecake filling
Spread the cheesecake mixture evenly over the chilled crust, smoothing the top with a spatula.
Tap the pan gently on the counter to release any large air pockets.
Refrigerate for at least 30–45 minutes before adding the cherry layer (this helps the filling firm up a bit).
5) Add the cherry topping
Carefully spoon the cherry pie filling over the cheesecake layer, spreading gently to cover the surface in an even layer.
Avoid pressing too hard so you don’t disturb the creamy layer underneath.
6) Chill until set
Cover the pan loosely with plastic wrap or foil and refrigerate for at least 4 hours, or preferably overnight, until the dessert is fully set and slices cleanly.
7) Slice and serve
When ready to serve, cut into squares using a sharp knife. Wipe the knife between cuts for clean edges.
Add a dollop of whipped cream, a fresh cherry, or a sprinkle of graham crumbs on top of each piece if desired.
Serving Suggestions
- Serve chilled on dessert plates with extra whipped cream.
- Add fresh cherries, berries, or mint leaves for a pretty presentation.
- Pair with coffee, tea, or a cold glass of milk.
- Cut into smaller squares for a dessert bar platter at parties or potlucks.
Cook’s Tips
- Soft cream cheese: Make sure the cream cheese is fully softened so the filling turns out smooth, not lumpy.
- Cold cream: Heavy cream should be very cold for best volume when whipping.
- Don’t rush the chill: Proper chilling is key for clean slices and a set texture.
- Level layers: Use an offset spatula to smooth each layer for a bakery-style look.
- Adjust sweetness: If your cherry filling is very sweet, you can slightly reduce the powdered sugar in the cheesecake layer.
Variations & Add-Ins
- Different crust: Use crushed vanilla wafers, digestive biscuits, or chocolate cookies instead of graham crackers.
- Citrus twist: Add extra lemon zest to the cheesecake layer for a brighter flavor.
- Berry delight: Swap cherry pie filling for blueberry, strawberry, or mixed berry topping.
- Individual cups: Layer the crust, cheesecake, and cherries in small jars or cups for individual desserts.
- Chocolate drizzle: Drizzle melted chocolate over the cherry layer before serving for extra decadence.
Storage & FAQ
- Storage: Cover and refrigerate leftovers for up to 3–4 days. The crust will soften slightly over time but still tastes great.
- Freezing: You can freeze the assembled dessert (without fresh garnishes) tightly wrapped for up to 1 month. Thaw overnight in the fridge before serving.
- Can I use whipping topping instead of cream? Yes, you can fold in whipped topping (like stabilized whipped cream) in place of whipped heavy cream for extra stability.
- Runny filling? If the filling seems too soft, chill longer. Make sure you whipped the cream to stiff peaks and measured ingredients correctly.
- Can I halve the recipe? Yes—assemble in an 8×8 or 9×9-inch pan and reduce crust and filling amounts by about half.
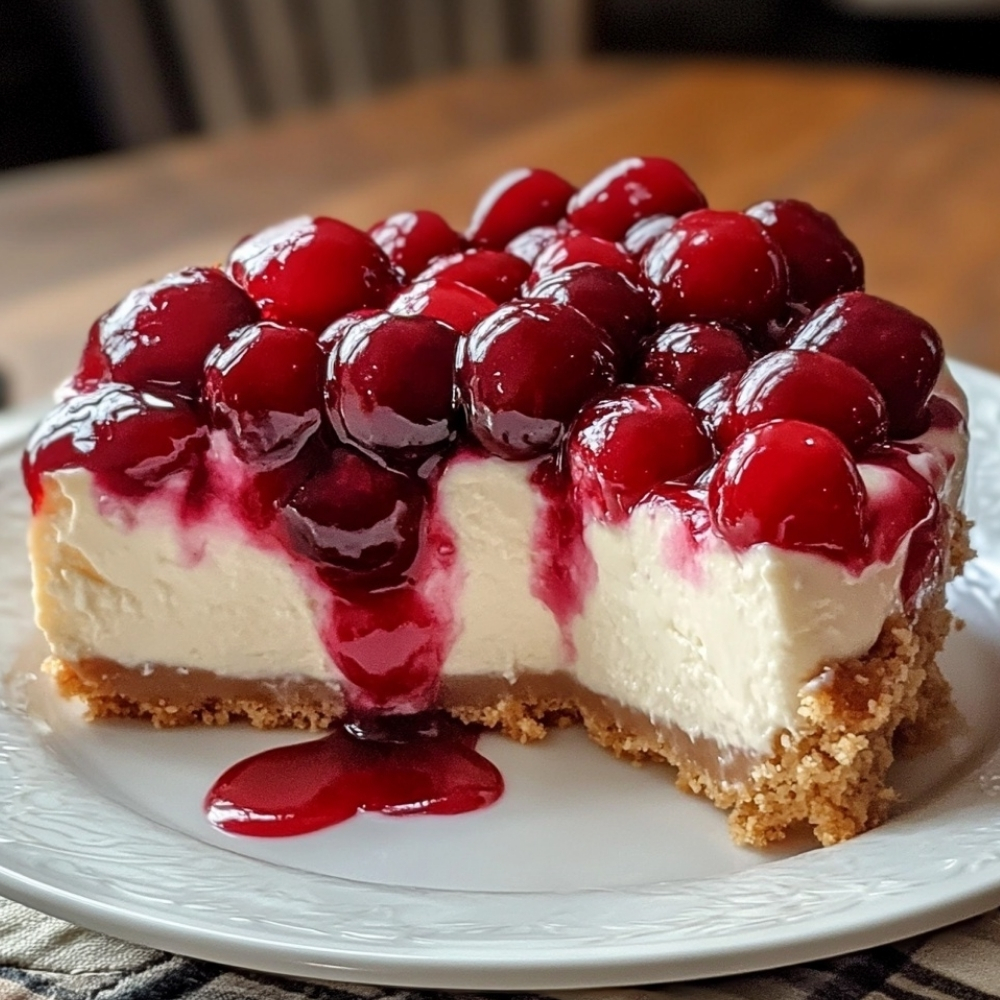
No-Bake Cherry Cheesecake Delight gives you a creamy, dreamy layered dessert with a buttery crust, fluffy cheesecake middle, and glossy cherry topping—perfect for making ahead, sharing with a crowd, and satisfying every cheesecake lover at the table.
No-Bake Cherry Cheesecake Delight – Creamy, Dreamy & So Simple

A no-bake layered dessert with a buttery graham cracker crust, fluffy cream cheese filling, and glossy cherry topping. Perfect for potlucks, holidays, or any time you want an easy, make-ahead cheesecake-style treat.
Ingredients
- For the Graham Cracker Crust:
- 240 g (about 2 cups) graham cracker crumbs (or digestive biscuits, finely crushed)
- 100 g (7 tbsp) unsalted butter, melted
- 2–3 tbsp granulated sugar
- Pinch of salt
- For the Cheesecake Layer:
- 450 g (16 oz) cream cheese, softened
- 240 ml (1 cup) heavy cream or whipping cream, cold
- 120 g (1 cup) powdered sugar, sifted
- 1 tsp vanilla extract
- 1–2 tbsp lemon juice
- For the Cherry Topping:
- 1 can (540 ml / about 21 oz) cherry pie filling
- Optional Garnishes:
- Whipped cream
- Fresh cherries or berries
- Extra graham cracker crumbs
Instructions
- 1. Make the crust
- 2. Lightly grease or line a 9×13-inch baking dish with parchment.
- 3. In a bowl, mix graham cracker crumbs, melted butter, sugar, and a pinch of salt until evenly moistened.
- 4. Press firmly into the bottom of the dish to form a level crust. Refrigerate while you prepare the filling.
- 5. Whip the cream
- 6. In a cold mixing bowl, beat cold heavy cream on medium-high speed until stiff peaks form.
- 7. Set aside.
- 8. Prepare the cheesecake filling
- 9. In a large bowl, beat softened cream cheese until smooth and creamy.
- 10. Add powdered sugar, vanilla, and lemon juice; beat until well combined and smooth.
- 11. Gently fold the whipped cream into the cream cheese mixture in 2–3 additions, folding just until no streaks remain.
- 12. Layer the cheesecake filling
- 13. Spread the cheesecake mixture evenly over the chilled crust.
- 14. Smooth the top with a spatula.
- 15. Refrigerate for 30–45 minutes to allow the layer to firm slightly.
- 16. Add cherry topping
- 17. Spoon cherry pie filling evenly over the cheesecake layer, spreading gently to cover without pressing too hard.
- 18. Chill until set
- 19. Cover the dish and refrigerate for at least 4 hours, or overnight, until fully chilled and set.
- 20. Slice and serve
- 21. Cut into squares using a sharp knife, wiping the blade between cuts for clean slices.
- 22. Garnish with whipped cream, fresh cherries, or graham crumbs if desired. Serve chilled.
Notes
Ensure cream cheese is fully softened and beaten smooth to avoid lumps in the filling.
Cold, well-whipped cream helps the dessert set nicely without gelatin.
For a slightly firmer filling, you can add a bit more powdered sugar (up to 1½ cups) if desired.
If freezing, skip fresh garnishes until after thawing.
Nutrition
Calories: ~280–320
Protein: ~4–5 g
Total Fat: ~18–20 g
Carbohydrates: ~28–32 g
Fiber: ~1 g