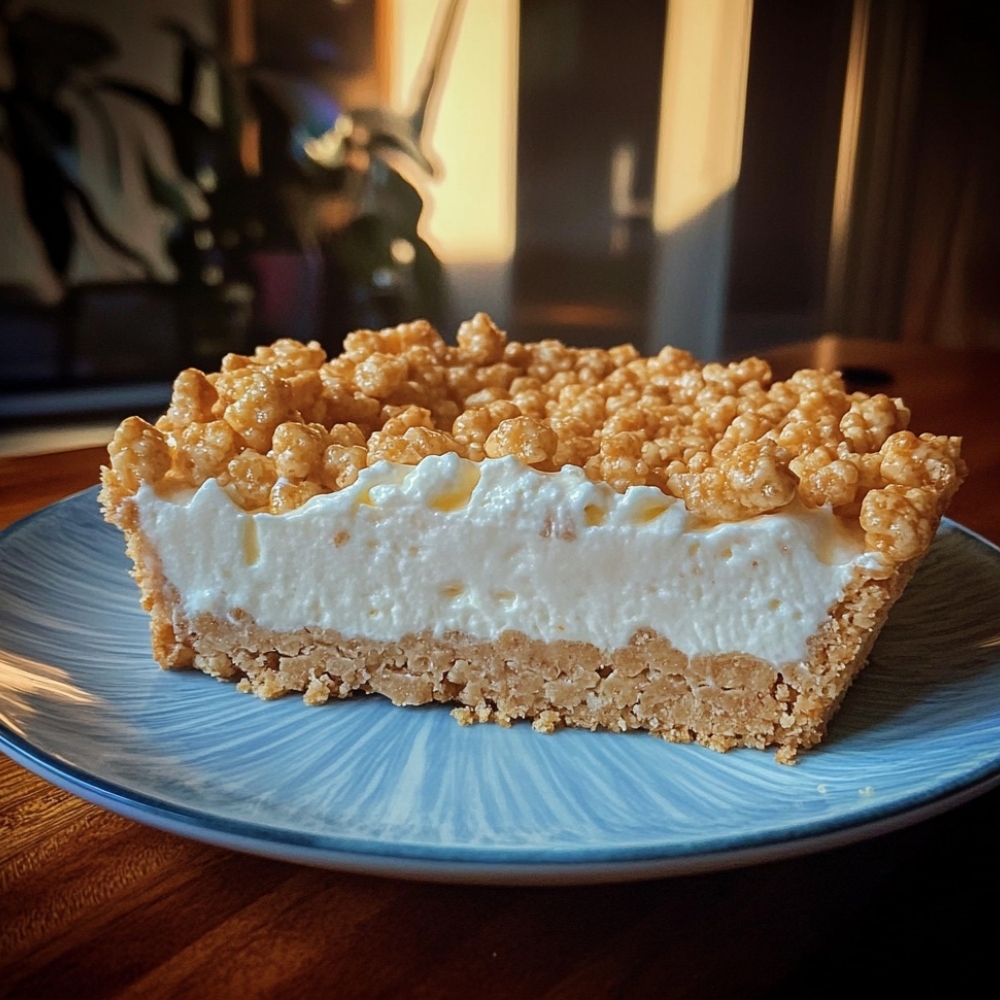
If you love the crunchy sweetness of Rice Krispie treats and the rich, smooth bite of cheesecake, this Rice Krispie Cheesecake is the best of both worlds. It features a buttery, crispy cereal crust topped with a fluffy, creamy cheesecake layer—then finished with even more crunch for a fun, crowd-pleasing dessert.
Unlike classic baked cheesecake, this version is no-bake, easy to assemble, and perfect for parties, holidays, or anytime you want a show-stopping dessert without turning on the oven.
Ingredients
Serves 10–12 (9-inch springform pan)
For the Rice Krispie Crust
- 4 cups (120g) Rice Krispies cereal
- 3 cups (120g) mini marshmallows
- 3 tablespoons (42g) unsalted butter
- Pinch of salt
For the Cheesecake Filling
- 16 oz (450g) cream cheese, softened
- 1 cup (240ml) heavy whipping cream (cold)
- 3/4 cup (90g) powdered sugar (adjust to taste)
- 1 teaspoon vanilla extract
- 1 tablespoon lemon juice (optional, for balance)
For the Topping (Optional but Recommended)
- 1 1/2 cups (45g) Rice Krispies cereal
- 1 cup (40g) mini marshmallows
- 1 tablespoon butter
- Optional: chocolate drizzle, caramel drizzle, or sprinkles
Preparation Time
- Prep time: 20 minutes
- Chill time: 4–6 hours (or overnight)
- Total time: About 4–6 hours 20 minutes
Step-by-Step Instructions
Step 1: Make the Rice Krispie Crust
In a saucepan over low heat, melt butter. Add marshmallows and stir until smooth.
Remove from heat and quickly fold in Rice Krispies and a pinch of salt.
Press the mixture firmly into the bottom of a greased 9-inch springform pan (use a spatula or wax paper to press evenly). Let it cool for 10 minutes.
Step 2: Whip the Cream
In a chilled bowl, beat heavy cream until stiff peaks form. Set aside.
Step 3: Mix the Cheesecake Filling
In another bowl, beat cream cheese until smooth. Add powdered sugar, vanilla, and lemon juice (if using). Mix until creamy.
Step 4: Fold and Assemble
Gently fold the whipped cream into the cream cheese mixture until fluffy.
Spread the filling over the cooled Rice Krispie crust and smooth the top.
Step 5: Chill
Refrigerate for at least 4–6 hours (overnight is best) until firm.
Step 6: Add Topping and Serve
Optional topping: melt 1 tablespoon butter with marshmallows, stir in cereal, and sprinkle small clusters on top once cooled.
Slice and serve chilled for the best texture.
Serving Suggestions
- Drizzle with chocolate sauce or caramel sauce for extra indulgence.
- Add fresh strawberries or raspberries to balance the sweetness.
- Sprinkle crushed cookies on top for a bakery-style finish.
- Serve in small slices—this dessert is rich and satisfying.
- Make mini versions in jars for parties and gatherings.
Nutritional Highlights
| Nutrient | Per Serving (1 slice, 1/12 cheesecake) |
|---|---|
| Calories | 340 |
| Protein | 4 grams |
| Total Fat | 20 grams |
| Saturated Fat | 12 grams |
| Carbohydrates | 36 grams |
| Sugars | 25 grams |
| Fiber | 0 grams |
| Sodium | 230 milligrams |
Nutritional Notes:
- Cream cheese provides richness and structure without baking.
- Whipped cream keeps the filling light and airy.
- Rice Krispies add crunch, making each bite fun and textured.
Tips for the Best Rice Krispie Cheesecake
- Press the crust firmly so it holds together when slicing.
- Use full-fat cream cheese for the smoothest, firmest texture.
- Chill long enough—this is key for clean slices.
- Grease the pan lightly to prevent sticking.
- If the crust feels too sticky to press, dampen your hands slightly.
Variations to Try
- Chocolate Version: Add 1/4 cup cocoa powder to the filling and drizzle with chocolate ganache.
- Peanut Butter: Mix 1/3 cup peanut butter into the filling for a nutty twist.
- Strawberry Swirl: Swirl in strawberry jam before chilling.
- Birthday Cake Style: Add sprinkles and a vanilla frosting drizzle.
- Mini Cheesecakes: Press crust into cupcake liners and top with filling for individual servings.
This Rice Krispie Cheesecake is the ultimate fun dessert—crunchy, creamy, sweet, and unbelievably easy to make. With a no-bake filling and a playful cereal crust, it’s perfect for celebrations or anytime you want a unique cheesecake that stands out.
Whether you keep it classic or dress it up with drizzles and toppings, this recipe guarantees a creamy, crispy, irresistible bite every time.
Leave a Reply