
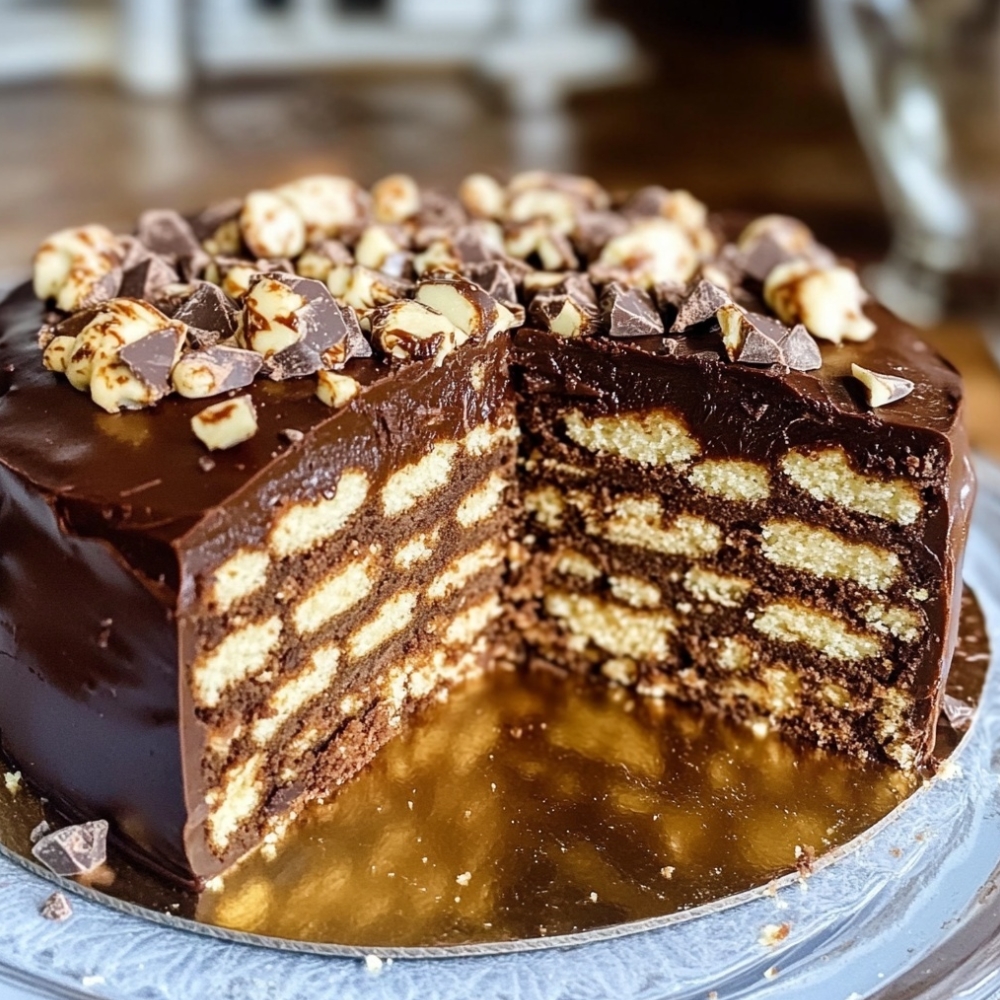
When you want a chocolate dessert without turning on the oven, this No-Bake Chocolate Biscuit Cake is the perfect treat. It’s rich, fudgy, and packed with crunchy biscuit pieces in every bite—like a cross between a chocolate bar and a cake. Best of all, it comes together with simple pantry ingredients and sets in the fridge.
Unlike store-bought desserts, this homemade version lets you control the sweetness, chocolate intensity, and add-ins. It’s ideal for parties, holidays, afternoon coffee, or anytime you need a quick chocolate fix.
Ingredients
Makes 1 loaf (about 10–12 slices)
- 10 oz (280g) plain tea biscuits or digestive biscuits
- 1/2 cup (115g) unsalted butter
- 1/2 cup (120ml) milk (or almond milk)
- 1/2 cup (100g) granulated sugar (or honey/maple syrup)
- 1/3 cup (35g) unsweetened cocoa powder
- 6 oz (170g) dark chocolate, chopped (or semi-sweet)
- 1 teaspoon vanilla extract
- Pinch of salt
Optional Add-Ins
- 1/3 cup chopped nuts (walnuts, almonds, hazelnuts)
- 1/3 cup mini marshmallows
- 1/3 cup raisins or dried cranberries
- 2 tablespoons peanut butter (for extra richness)
Preparation Time
- Prep time: 15 minutes
- Chill time: 4 hours (or overnight)
- Total time: About 4 hours 15 minutes
Step-by-Step Instructions
Step 1: Break the Biscuits
Place biscuits in a large bowl and break them into bite-size chunks. Don’t crush them into crumbs—you want texture.
Step 2: Make the Chocolate Mixture
In a saucepan over low heat, melt butter, milk, and sugar together. Whisk in cocoa powder and salt until smooth.
Step 3: Melt in the Chocolate
Remove from heat and add chopped chocolate. Stir until fully melted and glossy. Mix in vanilla extract.
Step 4: Combine
Pour the warm chocolate mixture over the biscuit pieces. Add any optional add-ins. Stir gently until everything is evenly coated.
Step 5: Shape
Line a loaf pan with parchment paper (or lightly grease). Press the mixture firmly into the pan, packing it down so it holds together.
Step 6: Chill
Refrigerate for at least 4 hours (overnight is best) until firm.
Step 7: Slice and Serve
Lift out using parchment, slice into pieces, and serve chilled or slightly softened at room temperature.
Serving Suggestions
- Dust the top with cocoa powder or powdered sugar before slicing.
- Drizzle with melted chocolate for a bakery-style finish.
- Serve with fresh berries for a bright contrast.
- Pair with coffee or tea for the perfect afternoon treat.
- Add a scoop of vanilla ice cream for an extra indulgent dessert.
Nutritional Highlights
| Nutrient | Per Serving (1 slice, 1/12 loaf) |
|---|---|
| Calories | 240 |
| Protein | 3 grams |
| Total Fat | 14 grams |
| Saturated Fat | 8 grams |
| Carbohydrates | 28 grams |
| Sugars | 16 grams |
| Fiber | 2 grams |
| Sodium | 120 milligrams |
Nutritional Notes:
- Dark chocolate contains antioxidants and provides deep flavor.
- Using nuts adds healthy fats and extra crunch.
- Portioning into smaller slices makes it easy to enjoy without overdoing it.
Tips for the Best Biscuit Cake
- Use a mix of biscuit chunk sizes for the best texture.
- Press firmly into the pan so it slices cleanly.
- Let it chill overnight for the firmest, easiest slices.
- Want a softer bite? Let slices sit at room temp for 10 minutes before serving.
- If the mixture looks too thick, add 1–2 tablespoons extra milk.
Variations to Try
- Mocha Biscuit Cake: Add 1 teaspoon instant espresso powder to the chocolate mixture.
- Orange Chocolate: Add 1 teaspoon orange zest for a bright twist.
- Salted Caramel: Drizzle caramel sauce and sprinkle flaky salt on top.
- Peanut Butter Swirl: Stir in warm peanut butter before pressing into the pan.
- White Chocolate Version: Swap dark chocolate for white chocolate and add crushed freeze-dried berries.
This No-Bake Chocolate Biscuit Cake is a simple, nostalgic dessert that delivers maximum chocolate flavor with minimal effort. With crunchy biscuit pieces, a rich chocolate base, and endless add-in options, it’s perfect for any occasion—no oven required.
Whether you keep it classic or customize it with nuts, marshmallows, or fruit, this recipe guarantees a rich, fudgy, chocolatey bite every time.
Leave a Reply