
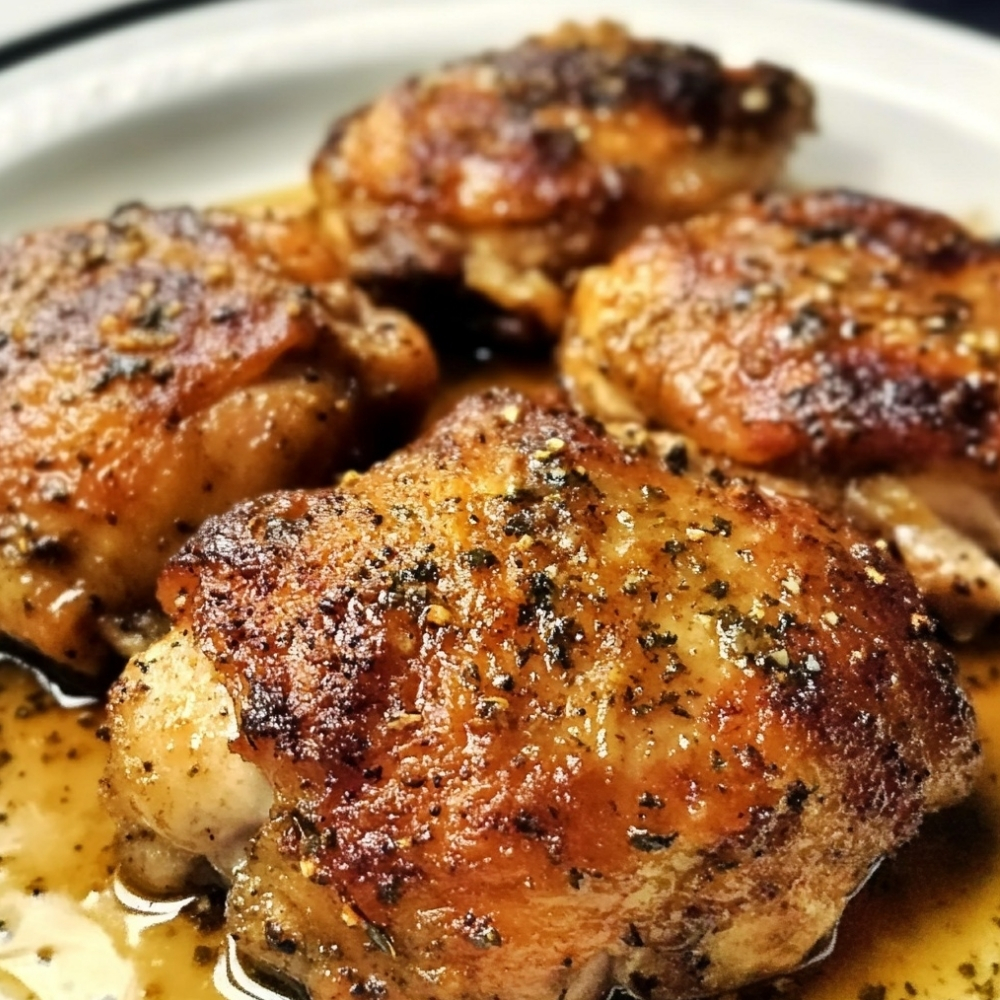
When you need a reliable dinner that’s easy, satisfying, and full of flavor, Baked Chicken Thighs are a go-to option. Chicken thighs stay naturally juicy in the oven, and with the right seasoning blend, you get golden, crispy skin and tender meat every time—without complicated steps.
Unlike dry baked chicken breast, thighs are forgiving and perfect for busy weeknights, meal prep, or family dinners. Pair them with veggies, rice, potatoes, or salad, and you’ve got a complete meal that feels hearty and homemade.
Ingredients
Serves 4
- 8 bone-in, skin-on chicken thighs (about 2 1/2–3 lb / 1.1–1.4kg)
(You can use boneless/skinless thighs—see tips for timing.) - 1 tablespoon olive oil
- 1 teaspoon salt (adjust to taste)
- 1/2 teaspoon black pepper
- 1 teaspoon garlic powder
- 1 teaspoon onion powder
- 1 teaspoon paprika (smoked or regular)
- 1/2 teaspoon dried oregano (or Italian seasoning)
- 1/2 teaspoon dried thyme (optional)
- 1 tablespoon lemon juice (optional, for brightness)
Optional add-ins:
- 1 teaspoon chili flakes (for heat)
- 1 tablespoon brown sugar (for a sweet-savory glaze effect)
- Fresh herbs (parsley, rosemary, thyme) for garnish
Preparation Time
- Prep time: 10 minutes
- Bake time: 35–45 minutes
- Resting time: 5 minutes
- Total time: About 50–60 minutes
Step-by-Step Instructions
Step 1: Preheat and Prep
Preheat oven to 425°F (220°C). Line a baking sheet with foil for easy cleanup (optional) and place a wire rack on top if you have one (best for crispy skin).
Step 2: Dry the Chicken
Pat chicken thighs dry with paper towels. This step is key for crisp skin.
Step 3: Season
In a small bowl, mix salt, pepper, garlic powder, onion powder, paprika, oregano, and thyme.
Rub chicken with olive oil, then coat evenly with the seasoning mix. Add lemon juice if using.
Step 4: Arrange for Baking
Place thighs skin-side up on the rack or directly on the baking sheet. Leave space between pieces for airflow.
Step 5: Bake
Bake for 35–45 minutes, until the skin is crispy and the internal temperature reaches 165°F (74°C) at the thickest part.
For extra crispiness, broil for 1–2 minutes at the end (watch closely).
Step 6: Rest and Serve
Let chicken rest for 5 minutes before serving to keep it juicy.
Serving Suggestions
- Serve with roasted potatoes, mashed potatoes, or rice.
- Pair with roasted veggies (carrots, broccoli, Brussels sprouts) baked on the same pan.
- Add a fresh salad or coleslaw for balance.
- Drizzle with pan juices and a squeeze of lemon for extra flavor.
- Make it meal-prep friendly: serve with quinoa and steamed greens.
Nutritional Highlights
| Nutrient | Per Serving (2 thighs) |
|---|---|
| Calories | 430 |
| Protein | 34 grams |
| Total Fat | 30 grams |
| Saturated Fat | 8 grams |
| Carbohydrates | 2 grams |
| Sugars | 0 grams |
| Fiber | 0 grams |
| Sodium | 720 milligrams |
Nutritional Notes:
- Chicken thighs are rich in protein and stay moist thanks to their natural fat content.
- Baking instead of frying reduces added oil while still giving crisp skin.
- Pairing with vegetables increases fiber and micronutrients for a more balanced meal.
Tips for Perfect Baked Chicken Thighs
- Always pat dry before seasoning for the crispiest skin.
- Bake at high heat (425°F) for better browning and juiciness.
- Use a rack if possible to prevent soggy bottoms.
- Check doneness with a thermometer for best results.
- For even crispier skin, let seasoned thighs sit uncovered in the fridge for 30 minutes before baking.
Variations to Try
- Lemon Herb: Add lemon zest and fresh rosemary/thyme.
- Spicy: Add cayenne or hot sauce to the oil before rubbing.
- BBQ: Brush with BBQ sauce during the last 10 minutes.
- Honey Garlic: Mix honey, garlic, and soy sauce (or coconut aminos) and glaze in the final minutes.
- Boneless Skinless: Bake at 400°F (205°C) for 20–25 minutes, checking for 165°F internal temp.
These Baked Chicken Thighs are the definition of easy comfort food: juicy meat, crispy skin, and bold seasoning—all made in one pan. Perfect for weeknights, meal prep, or feeding a crowd, this recipe delivers consistent, delicious results with minimal effort.
Whether you keep them classic or try a new flavor twist, you’ll get a tender, crispy, satisfying bite every time.
Leave a Reply